
How to Find Shelter in the Outdoors
In today’s post, Benjamin Sobieck, author of Outdoor Survival, an adventure skills guide, tells us about creating a shelter in the outdoors.
Where to Make a Shelter in the Outdoors
The ideal spot to make a shelter would contain the following elements:
- On level terrain, so rainwater doesn’t flow downhill into your shelter
- Near a clearing, to increase the chance of being spotted by rescuers, but also sheltered from the wind/rain (for reference, prevailing winds typically come from the west, the same direction as the setting sun)
- Away from dead or dying trees, aka “widow makers,” and away from trees entirely if lightning is present
- A dry area
- Clear out as much vegetation and debris from your shelter site as you possibly can.
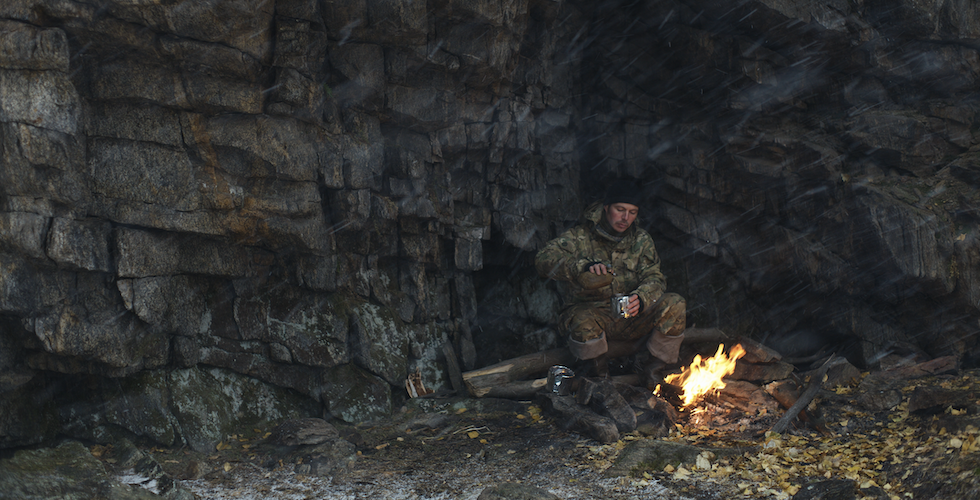
The Best shelter is the One You Don’t Have to Make: Sometimes Mother Nature can lend a helping hand. If something in your surroundings meets the requirements in the previous list, use it. In April 2018, an Oregon truck driver was lost in the woods, and he crammed himself beneath logs to stay warm at night. He survived for four days before returning to civilization, as reported by CNN.
Smoke Out the Creepy-Crawlies: Any time you make a shelter out of natural materials, you’re going to be bunking with bugs that call leaves, grass, fallen branches, and other debris home. You can drive many of them out by wafting smoke from a nearby campfire into the shelter or by placing a piece of smoldering wood inside. Either requires careful monitoring so the shelter doesn’t catch fire.
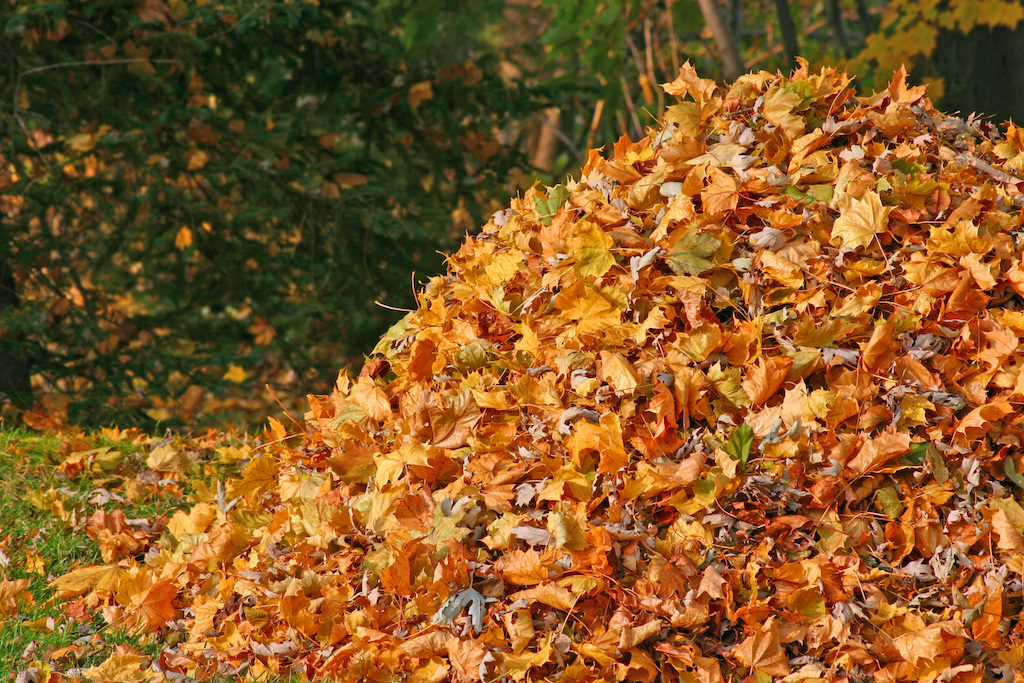
An Important Concept—Stay Off the Ground: No matter how you manage your shelter situation, keeping yourself off the ground is essential. That means putting a few inches between yourself and the dirt. The ground will suck the warmth out of your body, press moisture up against you, and expose you to bugs. If you don’t already have a sleeping pad, make a “mattress” of leaves or grass. Pine needles are a great choice too.
Four Simple Shelters Anyone Can Build—Simple is Smart: The more complicated a shelter is, the more likely it is to collapse, wear you down, or take up too much of your time. When building shelters, always try
to conserve energy. The more you move, the more hydration you lose through sweat. Don’t worry about mimicking the wilderness palaces you may have seen on the internet or TV. Knives, axes, and saws will make everything easier, although they’re not required for these shelters.
Of course, a tent or other ready-made shelter is preferable to building one from scratch.
Super Simple—The Garbage Pile
The objective of the Garbage Pile is to provide quick shelter if you’re injured, tired, or short on daylight. It’s crude, but it works. Gather brush and other small debris into a pile. Dry is best. Build the pile as high and as wide as you can. Crawl inside the Garbage Pile feet first. If possible, wrap yourself in a tarp or survival blanket first. “Close the door” by putting something between your head and the outside, such as a backpack.
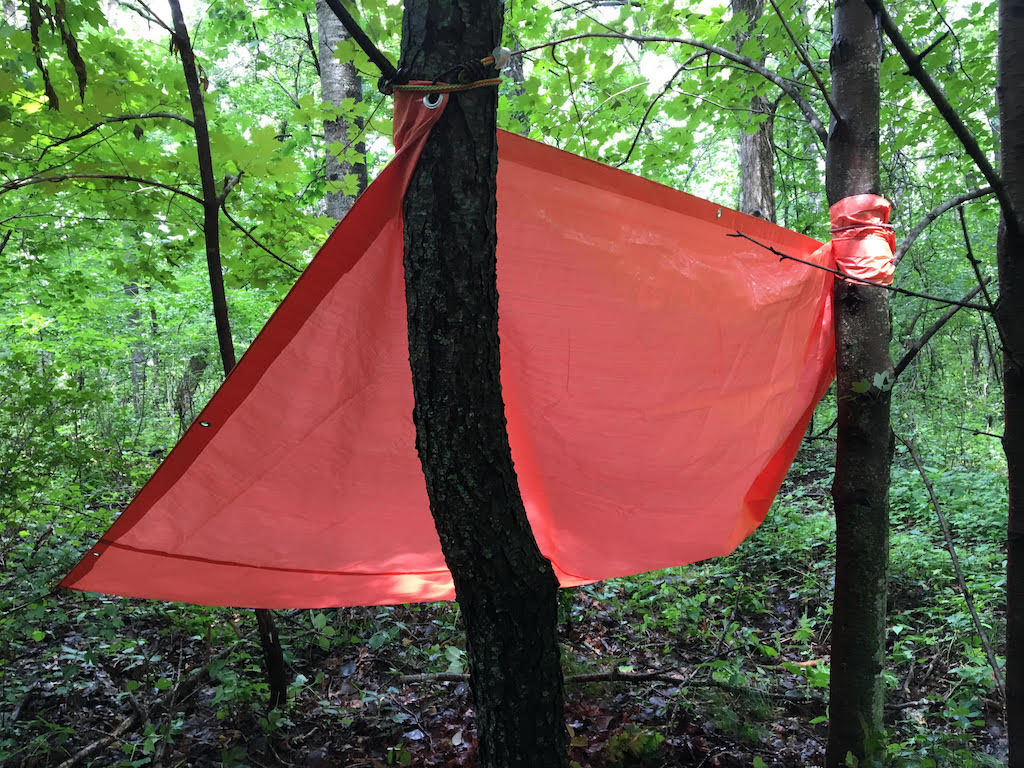
Set Up in Less than a Minute—A Tarp Lean-To
If you don’t have a proper tent, a basic tarpaulin (or two) and some cordage can go a long way. Buy a high-visibility, orange tarp to make yourself more noticeable. A roll of 550 paracord is lightweight and convenient for tying down the tarp, but don’t forget bungee cords. Bungees can be used for hundreds of tasks, and they make tying down a tarp easier, although they are heavier. Tarps can be arranged in any number of ways, but the lean-to is the most basic and a good place to start, unless you have time to experiment.
Tie two corners to branches at or above head level. The tauter the tarp can be made, the better. Tie the two remaining corners near to the ground, or stake them into the ground (use sticks if proper stakes aren’t available), so that the tarp forms a 45-degree angle. If the tarp is too large to be practical for this design, make a tent with two (45-degree) angles facing each other, tying the middle section at or above your head to branches. You can also make that middle support by leaning a log against a tree and draping the tarp across the sides. When using a tarp, it is especially important to consider the wind. Point the “roof” of the tarp into the wind.
If you don’t have bungee cords or paracord, use your shoe laces to tie the lean-to to branches; then stake the tarp to the ground using sticks. You can always untie the laces if you want to travel. Strips of clothing can work too.
Even if you’re unable to create a shelter with a tarp, wrapping yourself in a tarp to keep out the elements while you sleep is also a great alternative. The downside of tarps is that they don’t insulate, but they do offer terrific protection from the elements, enabling you to make a fire beneath them. If that’s your plan, consider exactly where the fire will be made and where you will sleep before the tarp shelter is erected.
Got a Bit More Time and Energy? Try the All-Natural Lean-To
This variant of the lean-to uses forest debris instead of a tarp. It takes more time and energy to create, but it works along the same principles. Building it will take at least an hour.
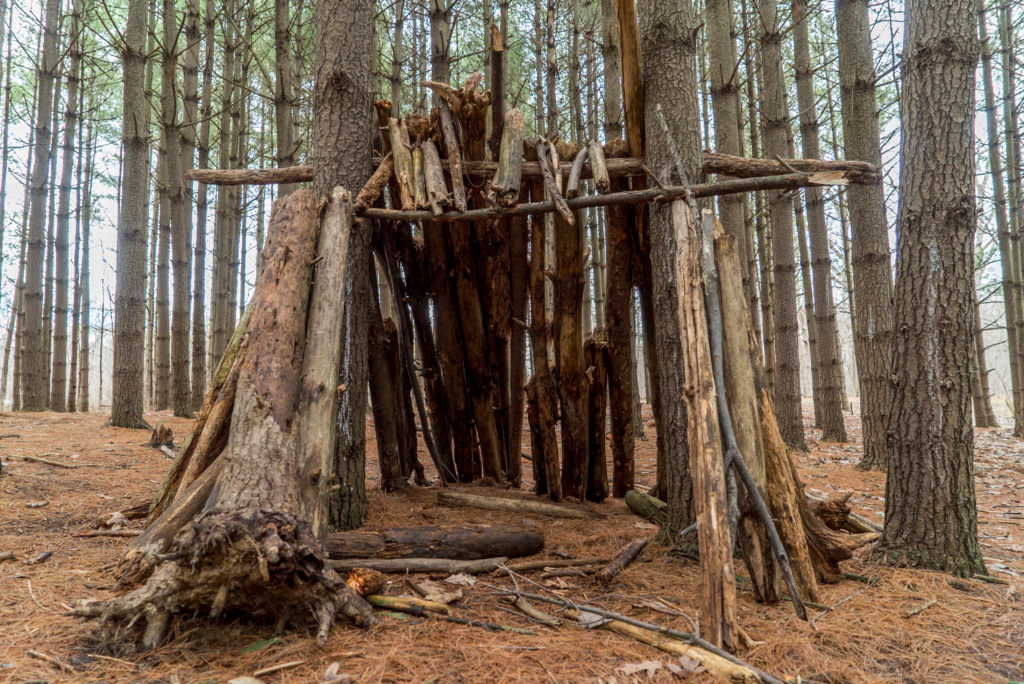
Find two trees about 5 feet apart with branches low enough to reach from the ground. If need be, you can use just about anything that’ll support a piece of timber around 5 feet long. Run a log or a thick branch horizontally between the branches on either tree at head level. Get as close to 180 degrees/level as you can. If available, secure the log with cordage to the trees. Stack logs or thick branches diagonally against the first log. Keep the logs/branches as close together as you can. Lay lighter branches against the logs. Keep adding layers of lighter and lighter debris.
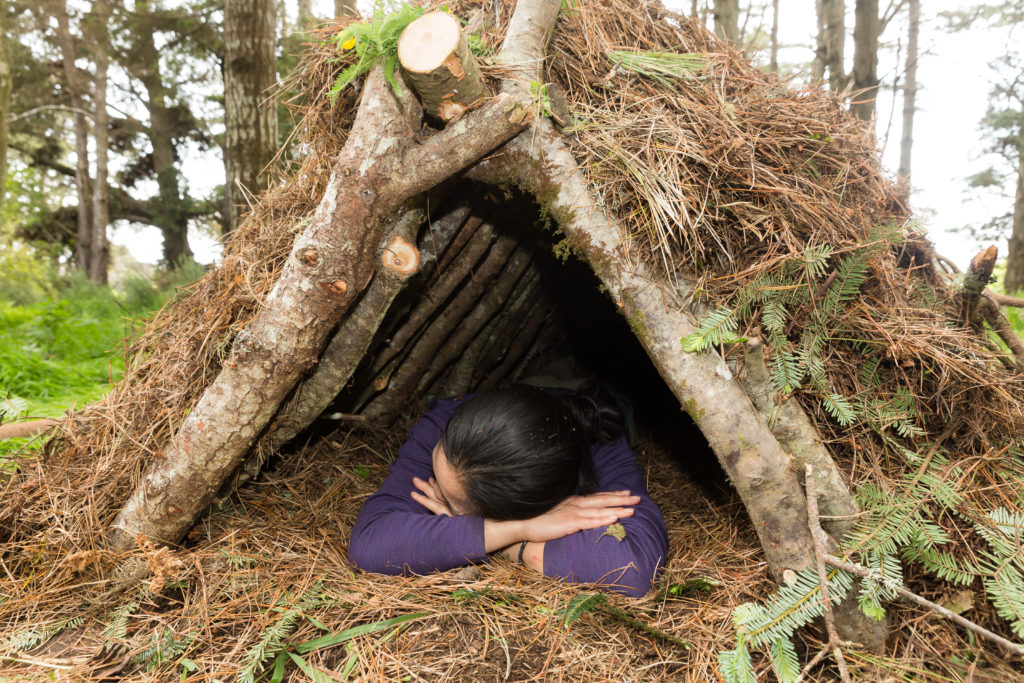
The A-Frame—The Classic Survival Shelter in the Outdoors
It follows the shape of a tent, but it’s made from natural debris. It’s also the most time- and energy-intensive shelter discussed here. Figure in at least a couple of hours of build time, as well as some healthy sweating. The objective is to create a frame out of thicker wood that you insulate with branches, leaves, grass, and other small plant material.
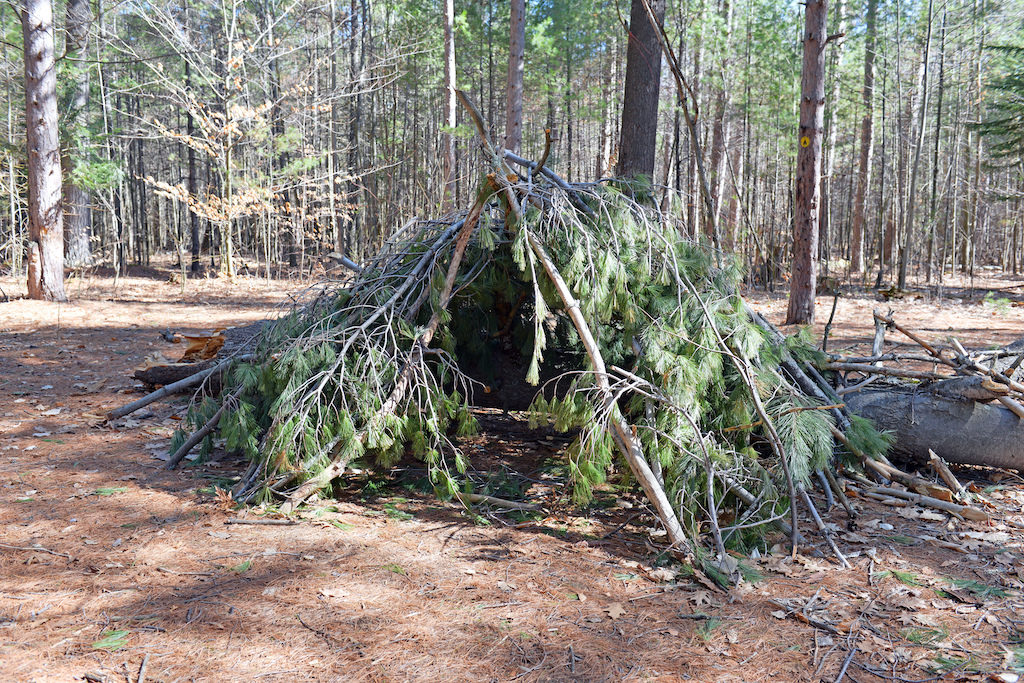
Make three poles out of logs or thick branches (stripped down so they’re single pieces of wood). Each pole should have a Y shape at the end. One pole should be longer than the other two. The longer one should be longer than you are tall. The other two should ideally both be 3 feet long or so.
Make a tripod, fixing the Y shapes together and facing the two shorter poles toward each other. Secure the tripod with cordage. Stack smaller logs and branches against the length of the tripod. Insulate with debris, such as leaves or grass. The more you secure the A-frame with cordage, the better.
If you enjoyed this post about creating a shelter in the outdoors, check out Outdoor Survival by Benjamin Sobieck, a must-have guide for staying safe when enjoying the great outdoors.