
The Art of Taking Great Photographs of Waterfalls
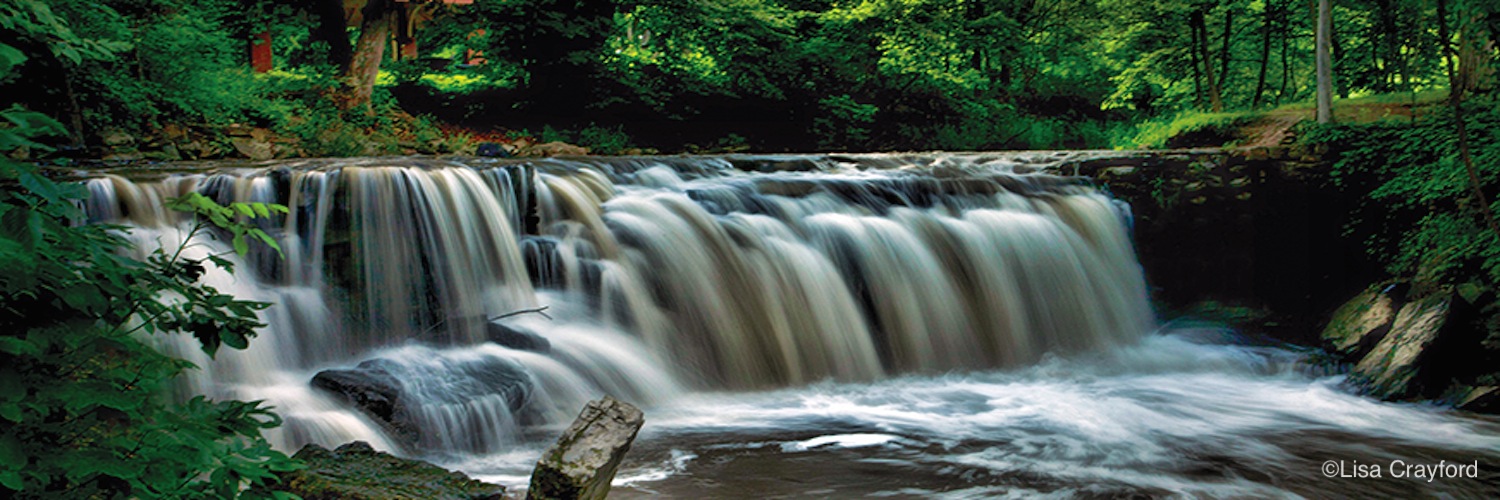
Lisa Crayford, author of Waterfalls of Minnesota and an accomplished photographer, shares with us her tips for taking great photographs of waterfalls. Here is a summary of the basics.
Tripod: You’ll need a sturdy tripod because you can’t hold a camera sufficiently steady when using slow shutter speeds. Be sure the tripod is compact and lightweight, as you’ll be carrying it along with you on your hike. If you want to know when to use a tripod, here’s our rough rule of thumb: Use a tripod whenever you can, especially if the shutter speed is less than the len’s focal length. For example, don’t handhold a 50-millimeter lens when using a shutter speed slower than 1/60 of a second.
Cable Release/Timer: When you’re taking a photo, use a cable release, which is a cord attached to the shutter button that separates you from the camera, or use your built-in camera timer. Both of these options reduce the vibration that’s caused by pressing the shutter button.
ISO Speed: The ISO setting on most modern digital cameras is designed to approximate the ISO speed of film used in a traditional camera. The lowest ISO number you’ll find on a digital camera—usually 100 but sometimes lower—is generally the best setting for shooting waterfalls, as it will yield the greatest detail, sharpness, effects, and color accuracy.
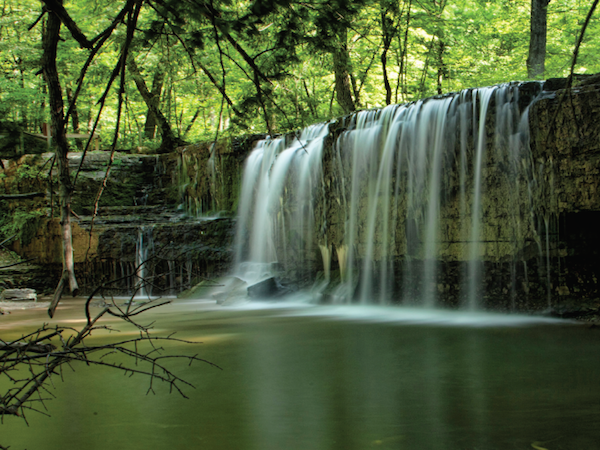
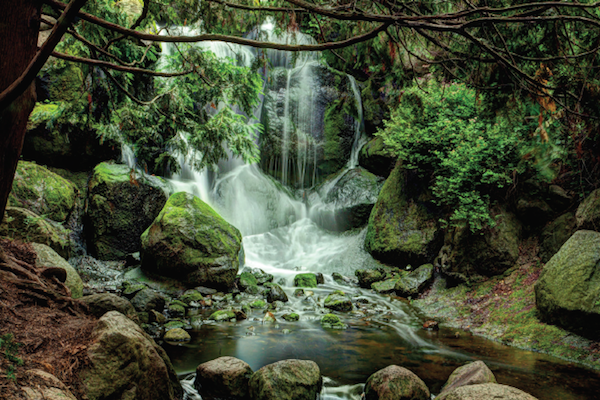
Shutter Speed: Slow shutter speeds give a sense of movement. Mike Wyatt, in his book Basic Essentials of Photography Outdoors, explains how shutter speed relates to moving currents: “The movement of flowing water will be completely stopped at 1⁄2000 second. The fastest portions of the water will begin to soften at 1⁄60 second. At 1⁄15 second, the water’s movement will be clearly evident, but the water will not be completely blurred.” Most waterfall photographs are shot at 1/8 second or slower to produce a soft quality.
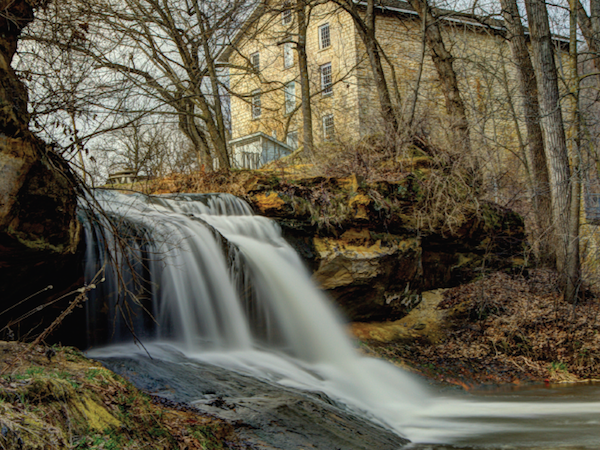
Time of Day: Midday sun creates harsh lighting and shadows. To avoid this, visit a waterfall at daybreak or an hour before sunset, and observe the wonderful quality of the light. Perhaps surprisingly, cloudy days are often better for waterfall photography, as they afford more photo opportunities.
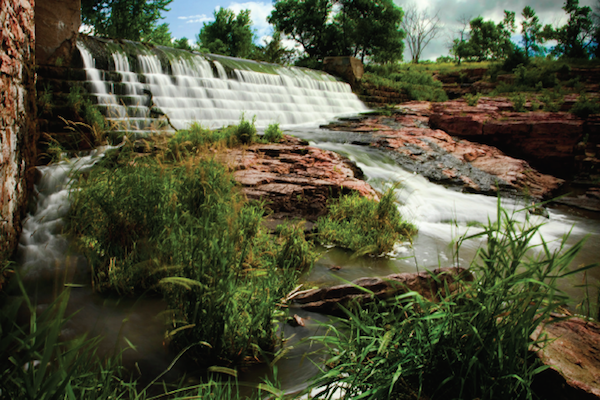
Perspective: Waterfall photographs need a reference to indicate their size. To give a feeling of depth and space, use foreground elements, such as trees, rocks, and people. In essence, try to frame the waterfall.
Position: Shoot from the top, bottom, or side of the falls, but always try to keep one side of the image frame parallel to the ground. Basically, treat the waterfall like a piece of architecture. Be creative and see if you can photograph the falls from a unique, surprising perspective.
People: The high reflectance of water tends to underexpose people in a waterfall photograph. When positioning people, consider proper lighting for both them and the waterfall.
Rainbows: If you’re lucky enough to find a rainbow at the end of a waterfall, take full advantage of it. Don’t miss the opportunity for a spectacular photograph. Try photographing the rainbow and waterfall at different settings for a variety of looks.
Also: Watch out for the sun. Light reflecting in the lens between the glass surfaces can cause a flare (diffused spot) or a ghost (a multisided bright spot). When it comes to the horizon line, it should be level and, in general, not placed in the center of the composition. Keep in mind that, if the sky isn’t deep blue or contrasted by white clouds, it’s fine to crop off the sky all together.